Transitions and a Whole Wheat Pizza Dough Recipe

I’m not really one of those people (I’m sure you know at least one of them) that constantly is talking about her latest diet or checking into the gym every time she is there, but this post is all about transitions.

My husband started going to the gym about a year and half ago and I followed suit probably 10 months ago. In that timeframe, my husband has lost 60 pounds and has been able to stop taking his daily medicine regime for gout. And while I can’t claim the same AWESOME benefits (in fact, I weigh more now than when I started with him), I can say that in the past year, I’ve ran both 5k and 10k races and finished them, and I wasn’t last. We are still plugging along at our gym routine (cardio – either running or a HiiT program on an elliptical paired with a weight routine) and we have both seen a lot of great results physically. However, we are both still struggling with the dreaded belly fat. Mine from three babies and three c-sections and his from college, a wife that likes to cook for him, and three babies. We have recently added a protein shake after our workouts that supposedly will help us stop burning glycogen post workout and work on building lean muscle. Another change that we are working on implementing (slowly) is reducing/eliminating white sugar and flour and eating more whole and real foods.

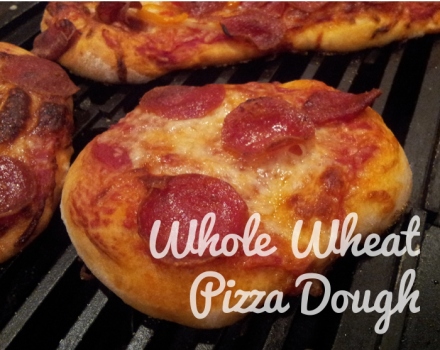
Last night I made this pizza dough. And while it DOES include unbleached white flour, it also contains a good helping of white whole wheat flour. It is a tasty alternative to our standard pizza dough recipe and one that my entire family will eat.

pizza

Whole Wheat Pizza Dough Recipe

1 tsp Evaporated Cane Sugar (or white sugar or a sugar substitute of your choice)

1 1/2 cups Warm Water

1 tbsp Active Yeast

1 tbsp Olive Oil

1 tsp Salt

2 cups White Whole Wheat Flour (same nutritional benefits as the stander whole wheat but from a different wheat variety – at least that is what I read)

1 1/2 cups Unbleached All Purpose White Flour

I used my Kitchen Aid mixer with the dough hook for this recipe.

Combine the water, sugar, and yeast in the bowl and combine.

Stir in the oil and salt.

Mix in the 2 cups of whole wheat flour and 1 cup of the unbleached white flour. Add in the rest of the unbleached white flour as needed to form a smooth ball. I actually needed 2 cups of unbleached flour to make my dough the right consistency.

Knead dough for 10 minutes on medium. Put a towel over the bowl and sit in a warm spot for 1 hour. Punch down and let rest another 30 minutes.

In the meantime, heat oven with a pizza stone to 450 degrees.

When your dough has risen, pull off balls of dough to make your pizzas and roll out to shape.  I like mine super thin but you can make yours as thick or thin as you like. Put your dough on a board covered with semolina flour. Top with sauce, cheese, pepperoni (I fry mine first to make sure it is crunchy).

Slide onto your preheated pizza stone and bake 5 minutes. I moved mine around on the pan and then bake another 5 minutes or so. Bake until the dough is cooked to your liking and the cheese and toppings are cooked.

Enjoy!

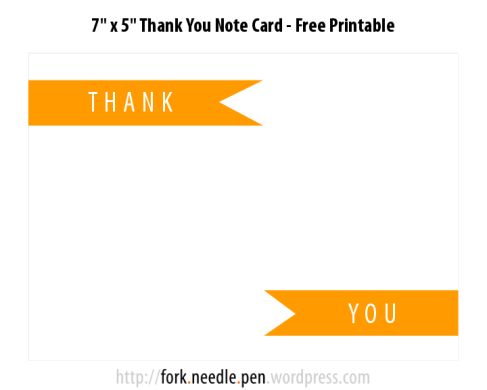
Thank You Note Cards – A Free Printable

Image

print version

I’ve had this little note card designed for a few weeks but with the computer change and all that goes along with changing computers, it was put on the back burner. Print size is 7″ x 5″ and the .pdf document has trim marks for ease of cutting.

I always find myself scrambling at the last moment to find a card or wishing I had a secret card stash, which I never do. My plan is to print a few of these up and keep them ready to go.

Please feel free to use and share for personal use.

Sewing for New Babes

My kids are well beyond the baby phase (3, 6, and 8) and I know very solidly that we will not be having anymore babies. It is a good place to be in my life right now. BUT, that doesn’t stop me from loving pregnant mamas and babes to be. And one way I can do that is by sewing baby quilts.

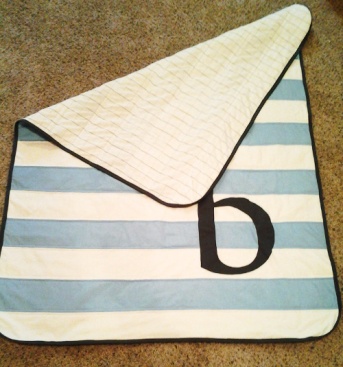
One of my friends from high school moved just minutes from me in the last year (from California where we grew up to Washington) and was expecting a baby. Before he was born, I created a quilt design (the b is for his name) and sewed it up and delivered it to her. Now that the baby is born, I need to get in gear and deliver a dinner (if you have a favorite post-baby dinner to give, please share!).

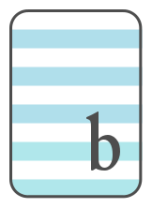
I started with this design (this is done in Inkscape. I recently upgraded computers and am trying some new programs out before I purchase Adobe Illustrator).

Image

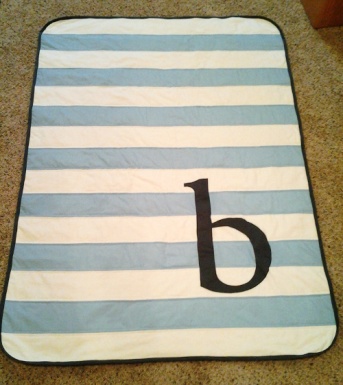
It ended up a bit differently once made up in soft Kona cottons, but I love it. I finished the back with mens cotton shirting fabric. In the computer transfer, I somehow lost the finished outside photos of this blanket, so you get the cruddy “I just finished sewing this so I’m going to take photos of it on the carpet in the sewing room” photos. (Photos were all modified using GIMP).

Image

And one showing the back of the quilt…

Image

I personally love the simplicity of the quilt and the use of minimal colors. I can just see it in a myriad of other colors/appliques, etc..

Sweet Tea Vodka Recipe & Spiked Arnold Palmers

Image

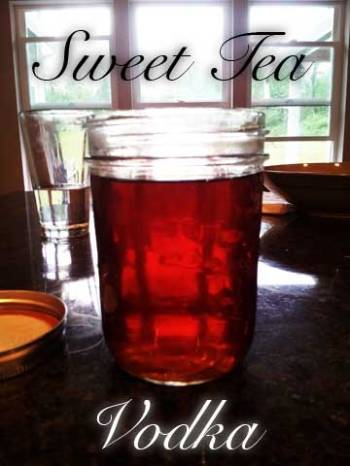
Last year, my in laws came home from vacation raving about a drink made with Firefly, a sweet tea vodka. We were able to find it here locally, but only in spurts. Sometimes the stores would have it, most of the time they wouldn’t. But it was good. Especially with lemonade to make a spiked Arnold Palmer. And especially with homemade lemonade.

This summer, facing a period of Firefly drought, I decided to make my own.

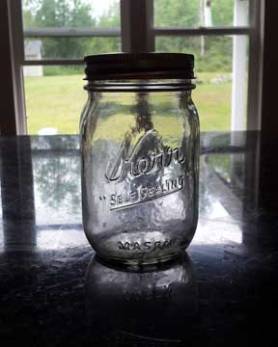
I start with a mason jar. Just because I like them and I have a ton of them around the kitchen. Besides, they are pretty cheap and an easy to give gifts.

Image

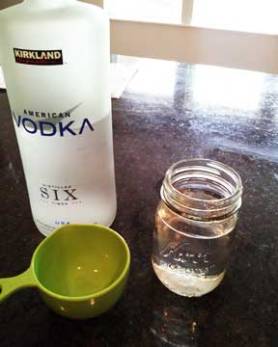
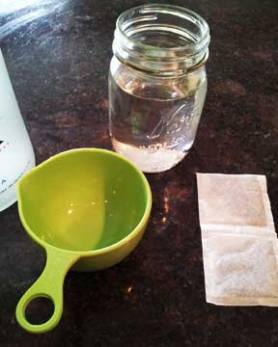
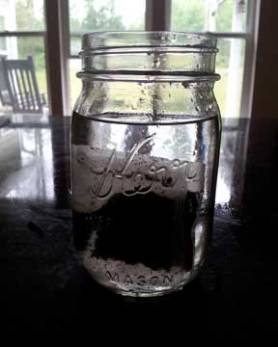
This particular mason jar holds two cups of vodka. Ours is the cheap stuff from Costco. I think this bottle, pre-tax, was $24.

Image

Get two tea bags ready. This is just generic bags of tea that can be found in bulk at any grocery store.

Image

Put two tea bags into your vodka and let the vodka sit. I’ve done it anywhere from 30 minutes to an hour. Both are good.

Image

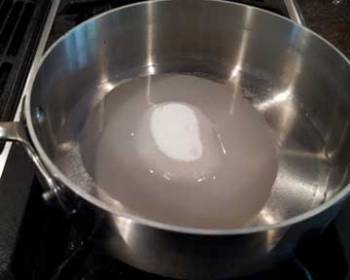
While your vodka tea is brewing, make some simple syrup. For two cups of sweet tea vodka, I used 1/4 cup of simple syrup. But, since I use simple syrup in other things, I make it by combing one cup of sugar with one cup of water in a pan.

ImageBring this to a boil and cook until the liquid is clear and has reduced to about 3/4 a cup. This takes maybe 5 minutes.

Image

Let your simple syrup cool a bit and then add 1/4 cup of simple syrup to your vodka (remove the tea bags first!). Feel free to add more or less, depending on how sweet you like your tea vodka.

Store this like any of liquor, in your fridge, cabinet, etc..

Image

We prefer to drink it in spiked Arnold Palmers.

In a large glass, fill it 3/4 full of ice. Add vodka, a couple of shots should do the trick. Then fill up to about 3/4 with iced tea. Fill the rest of the cup with lemonade. Top with fresh lemons. Stir and serve.

Bread Making

Bread

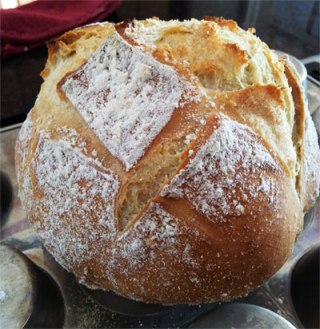
Water, salt, yeast, flour. A little time in a warm nook and then into the oven. Something magical happens. Bread has been made.

Ever since I was a teenager and started cooking and baking, I’ve occasionally dabbled with bread making. Nothing awesome has ever come of it. The results were never near what I could purchase from a grocery store and definitely never even close to what I could get at a bakery. That is at least until I borrowed Artisan Bread in Five Minutes a Day from my local library.

When my daughter asks me specifically for mama’s homemade bread or my husband declares his sandwich the best peanut butter and jelly sandwich ever, you know you’re doing something right.

The method that is laid out in Artisan Bread in Five Minutes a Day is so very easy. Yes, it takes dedication and it takes time. But it isn’t four hours one day to produce one measly loaf that sits uneaten. It is seriously five minutes to prepare the dough and then an hour or so of idle rising and baking times.

And the results are beautiful. The master recipe produces a beautiful boule, baguette, or cibiatta that will disappear in minutes if you aren’t careful. The recipe makes great bread for sandwiches, for garlic bread, for snacking on. It has a beautiful crisp crust with a tender interior. Dress it up simply with butter, or cinnamon sugar, or make it into a turkey sandwich. It’s just great. Ask my daughter, she’ll tell you.

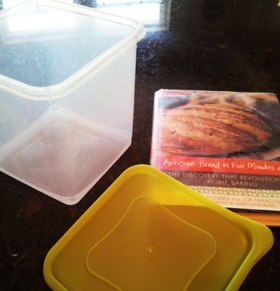
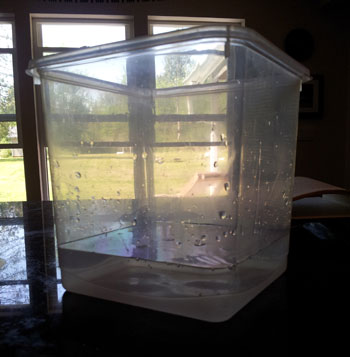
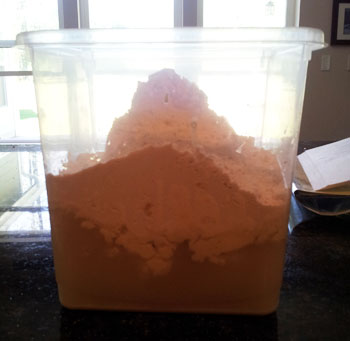
2The book and a 4 quart container. I would go with a large container, though. My dough tends to overflow.

3

3 cups of lukewarm water, pour into your container.

4

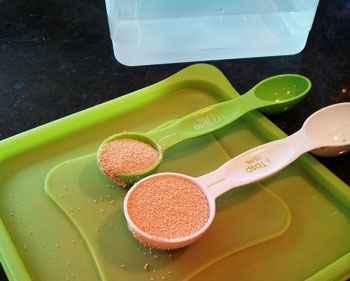
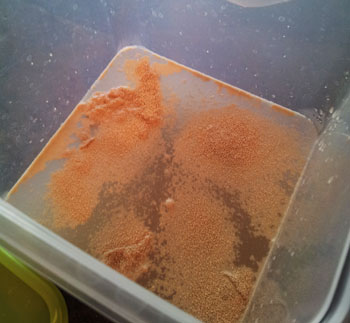
1 1/2 tablespoons of dry yeast. You know you are addicted to this recipe when you start buying your yeast in two pound bags at Costco.

5

1/2 tablespoon salt. The recipe calls for 1 1/2 tablespoons of coarse salt, but this is what I have on hand.

6

Into the bowl it goes….

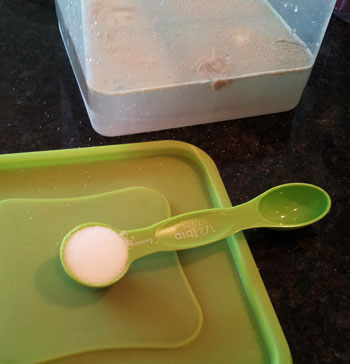
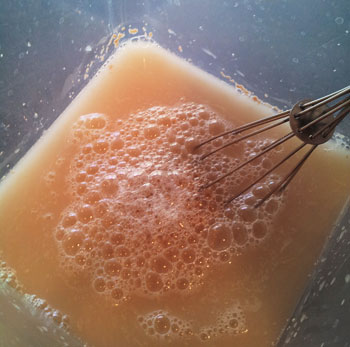
7And ready for a quick whisk.

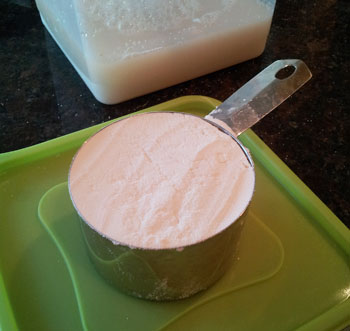
86 1/2 cups of unbleached flour. Use the swoop and sweep method to help ensure that you get the correct measurement. My dough always tend to be a bit dry, so I normally add a little more water after mixing.

9 10

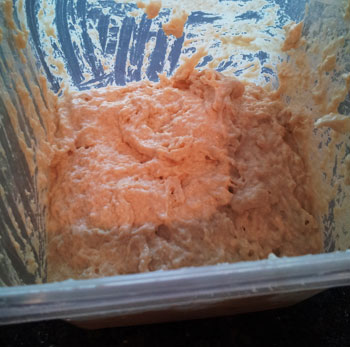
Mix it with your wet hands until everything is combined and there are not too many clumps.

11

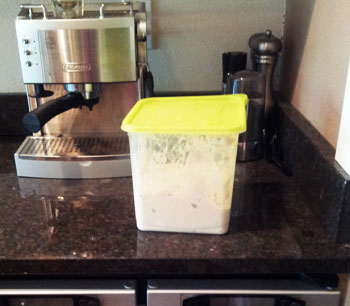
Set it in a warm spot  for about two hours.12

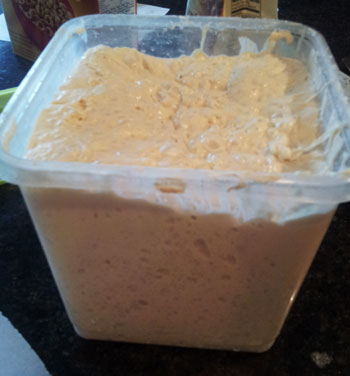
Then, put your whole container in the fridge, overnight.

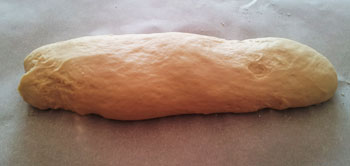
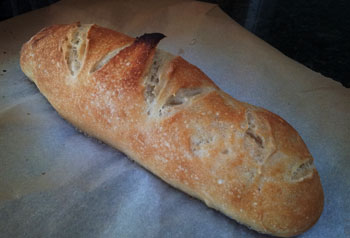
13When ready, cut a chunk of dough off, approximately grapefruit size or 1 pound. I formed this one into a baguette-style loaf. Let it sit and rise for approximately 20 minutes and then heat your oven with a pizza stone and broiler pan to 450 degrees (I find my oven runs a bit cold, so I heat mine to 500).

14

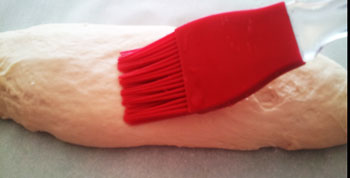
Brushed it with water instead of dusting it with flour (either option works well)

15

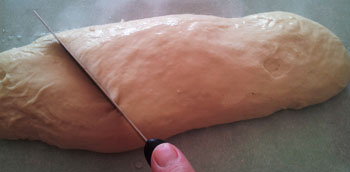
And sliced the top.

16

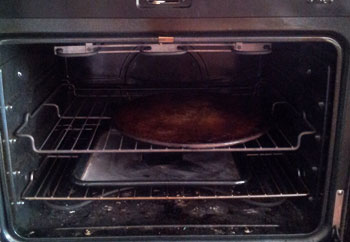
My setup in the oven. When your oven comes to temp, put your loaf on the heated pizza stone and pour a cup of water into the broiler pan.

17

Baked the loaf for 25-30 minutes.

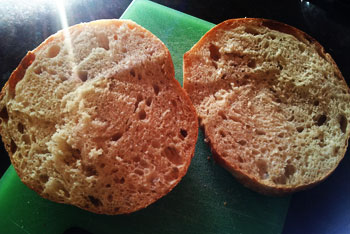
18This is another loaf that I baked, but look at that beautiful crust and crumb. So delicious warm with salted butter. I turned this into garlic bread.

Besides how good this bread tastes, the beauty of this method is that I have a tub of dough in my fridge that is capable of making 3-4 loafs of bread of a bunch of small rolls. This dough can be used for tons of other breads, too (I made a great cinnamon raisin bread this weekend). The prep is simple, clean up is simple, and the results are fantastic.

Easy Canvas Silhouettes

So, I have a confession. I’m not much of a home decorator. In fact, my husband has better ideas than I do most of the time.

Until now.

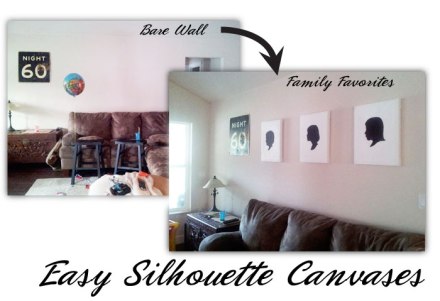
We had this blank wall in our living room right above our couch that was just begging for something. Something big and something bold. But my husband and I couldn’t agree on anything. I wanted bright and colorful art. No. He wanted photos but we already have peppered the house with photos.

After finding an old paper silhouette that had been done at Disneyland of myself, I knew what I wanted to do.

Silhouette Canvases Photo

The first step in creating something like this is to figure out what your subject will. I chose my kids, but in all honestly, it could have been a dog or a cat or a butterfly, or a hot dog.

Get a photo of your subject’s profile. Or, like we did way back when in kindergarten, use a projector to project their shadow on a wall and trace it on a piece of paper. Anyways, with the photo, blow it up to the size that you want to do your silhouette and adjust the contrast so it easy to decipher the silhouette’s outlines.

Get a canvas. You can either buy one or make on yourself. We made them ourselves and they sat around in my sewing room for months. So long, in fact, that one of my kids (the boy), decided to make art on them. Which made for an extra step of painting the canvases so they would be white. Again.

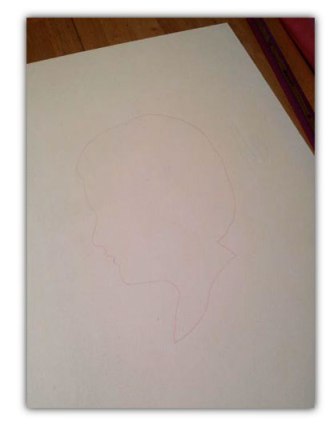
Layer your photo on top of a piece of transfer paper on top of your canvas. Using a pen, trace around your silhouette.

step1

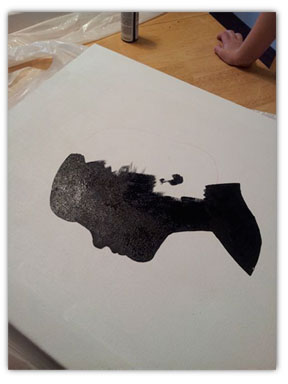
Now, using a black (or whatever color your choose) acrylic paint and a small paintbrush, paint in your silhouette.

step2

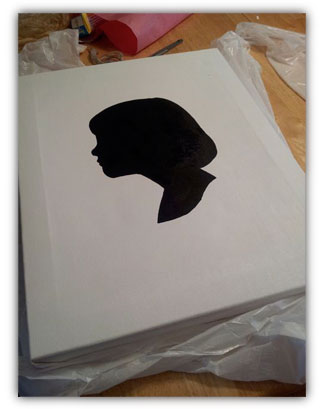
Finish painting in your silhouette trying to keep the outside line as smooth as possible.

3

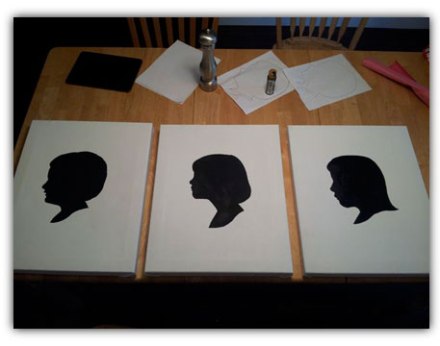
Repeat as needed.

4

Hang on the wall and admire your work. It really is an easy project that can be completed in an afternoon.